
Label printing
Open Orders → Label Printing. Only confirmed orders are included.
Select a range and preview
- Choose a print scheme: group by order, supplier, or customer.
- Choose a shared A4 label template.
- Use all filtered results, or open partial selection to choose order lines.
- Review group, product, specification, and quantity totals, then generate a preview.
- Use browser printing to send the labels to the selected printer.
The print scheme sets the grouping dimension (order, supplier, or customer), sort order, and product presentation (merge sizes or one pair per label). Label Generation on the print page is a separate setting: choose one per piece, one per order line, summarize by specification, or summarize by product. One label per order line is available only with an order-based scheme. Merged presentation can show quantities for several sizes on one product label; one-pair presentation creates one product label per pair.
The shared template controls paper settings and label layout. The print scheme, label-generation setting, and template separately control grouping, label count, and page design.
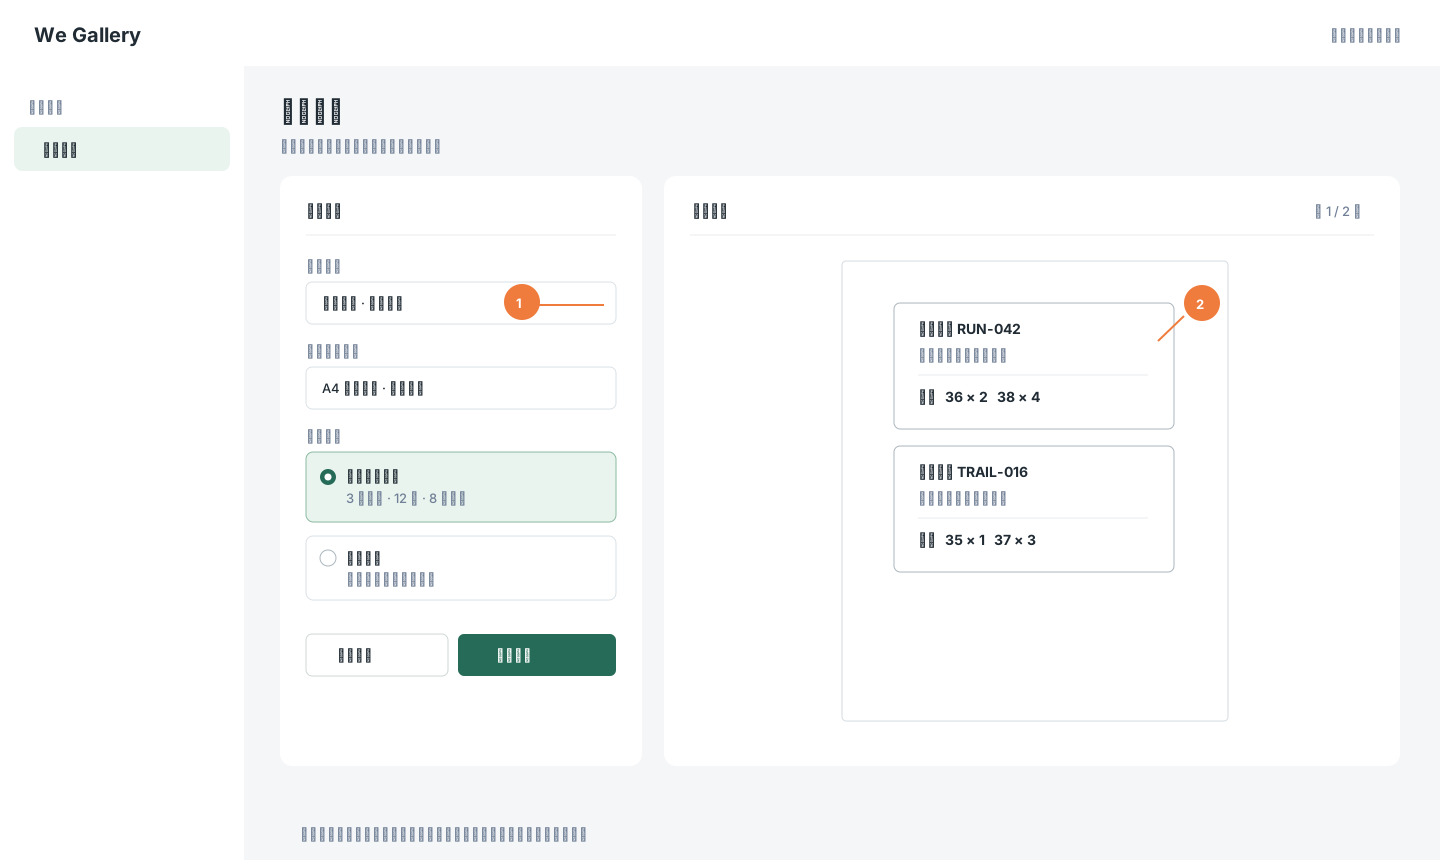
Synthetic data illustrates scheme settings, template selection, and preview. Callouts 1 and 2 mark these areas. Click the image to zoom in.
Calibrate with the real printer
Before using a new printer or label stock, check the paper size, label dimensions, and spacing in template settings. Print a small trial on the target printer. In the print dialog choose 100% or actual size and disable browser headers and footers. Adjust the template from the test sheet before printing a full batch.
Reprint
To reprint, choose the same order range, scheme, and template again. Check the resulting label count before printing. Confirmed order snapshots keep the label content stable.